WHOLESOME FAMILY HUMMUS (WITHOUT TAHINI)
I always make hummus in my food processor; I think it’s the best way to get that smooth, creamy texture. However, if you don’t have a food processor, you can use a blender instead; you’ll probably need to add a little more water and/or olive oil to achieve the same consistency though (unless you have one of those super-powered, turbo-charged Vitamix blenders).
If you want to make the hummus ahead of time, or you don't think you'll consume it all in one sitting, do not worry: This hummus keeps well for a few days in the refrigerator, although it’s best served at room temperature. It will thicken a little after sitting in the fridge, but you can always stir in a little more olive oil or water to loosen it up again if it’s too thick for your liking.
Yield: About 3 cups.
Author: Wholesome Family Kitchen
Ingredients
- -- 2 (15-ounce) cans chickpeas, drained and rinsed (or 3 cups cooked-from-scratch chickpeas **)
- -- 1 garlic clove, peeled and minced *
- -- 2 tablespoons fresh lemon juice (from about half a medium-sized lemon)
- -- ¼ cup water, or more as needed
- -- ¼ cup good-quality extra-virgin olive oil, or more as needed
- -- ½ teaspoon toasted sesame oil (optional)
- -- ¼ teaspoon ground cumin
- -- 1 teaspoon salt, or to taste (I usually need a little more salt when I use chickpeas cooked from scratch, and a little less when using canned chickpeas.)
- -- ¼ teaspoon freshly ground black pepper, or to taste
- To serve:
- -- Drizzle of extra-virgin olive oil (optional)
- -- Chopped fresh parsley (optional)
- -- Paprika (optional) (I served hummus without a paprika garnish for years, thinking it was an extra, unnecessary step... until I discovered Hungarian sweet paprika. Its smoky-sweet flavor is a great complement to this recipe.)
Instructions
- To the bowl of a food processor, add the chickpeas, minced garlic, lemon juice, water, olive oil, toasted sesame oil (if using), cumin, salt, and pepper. Process for at least a minute or two, or until very smooth, scraping down the sides of the bowl as needed. If the mixture seems too dry, or it’s not smooth enough, add more olive oil and/or water, a tablespoon at a time, until the hummus reaches your desired consistency. Taste and adjust seasonings, adding more salt, pepper, cumin, and/or lemon juice as needed.
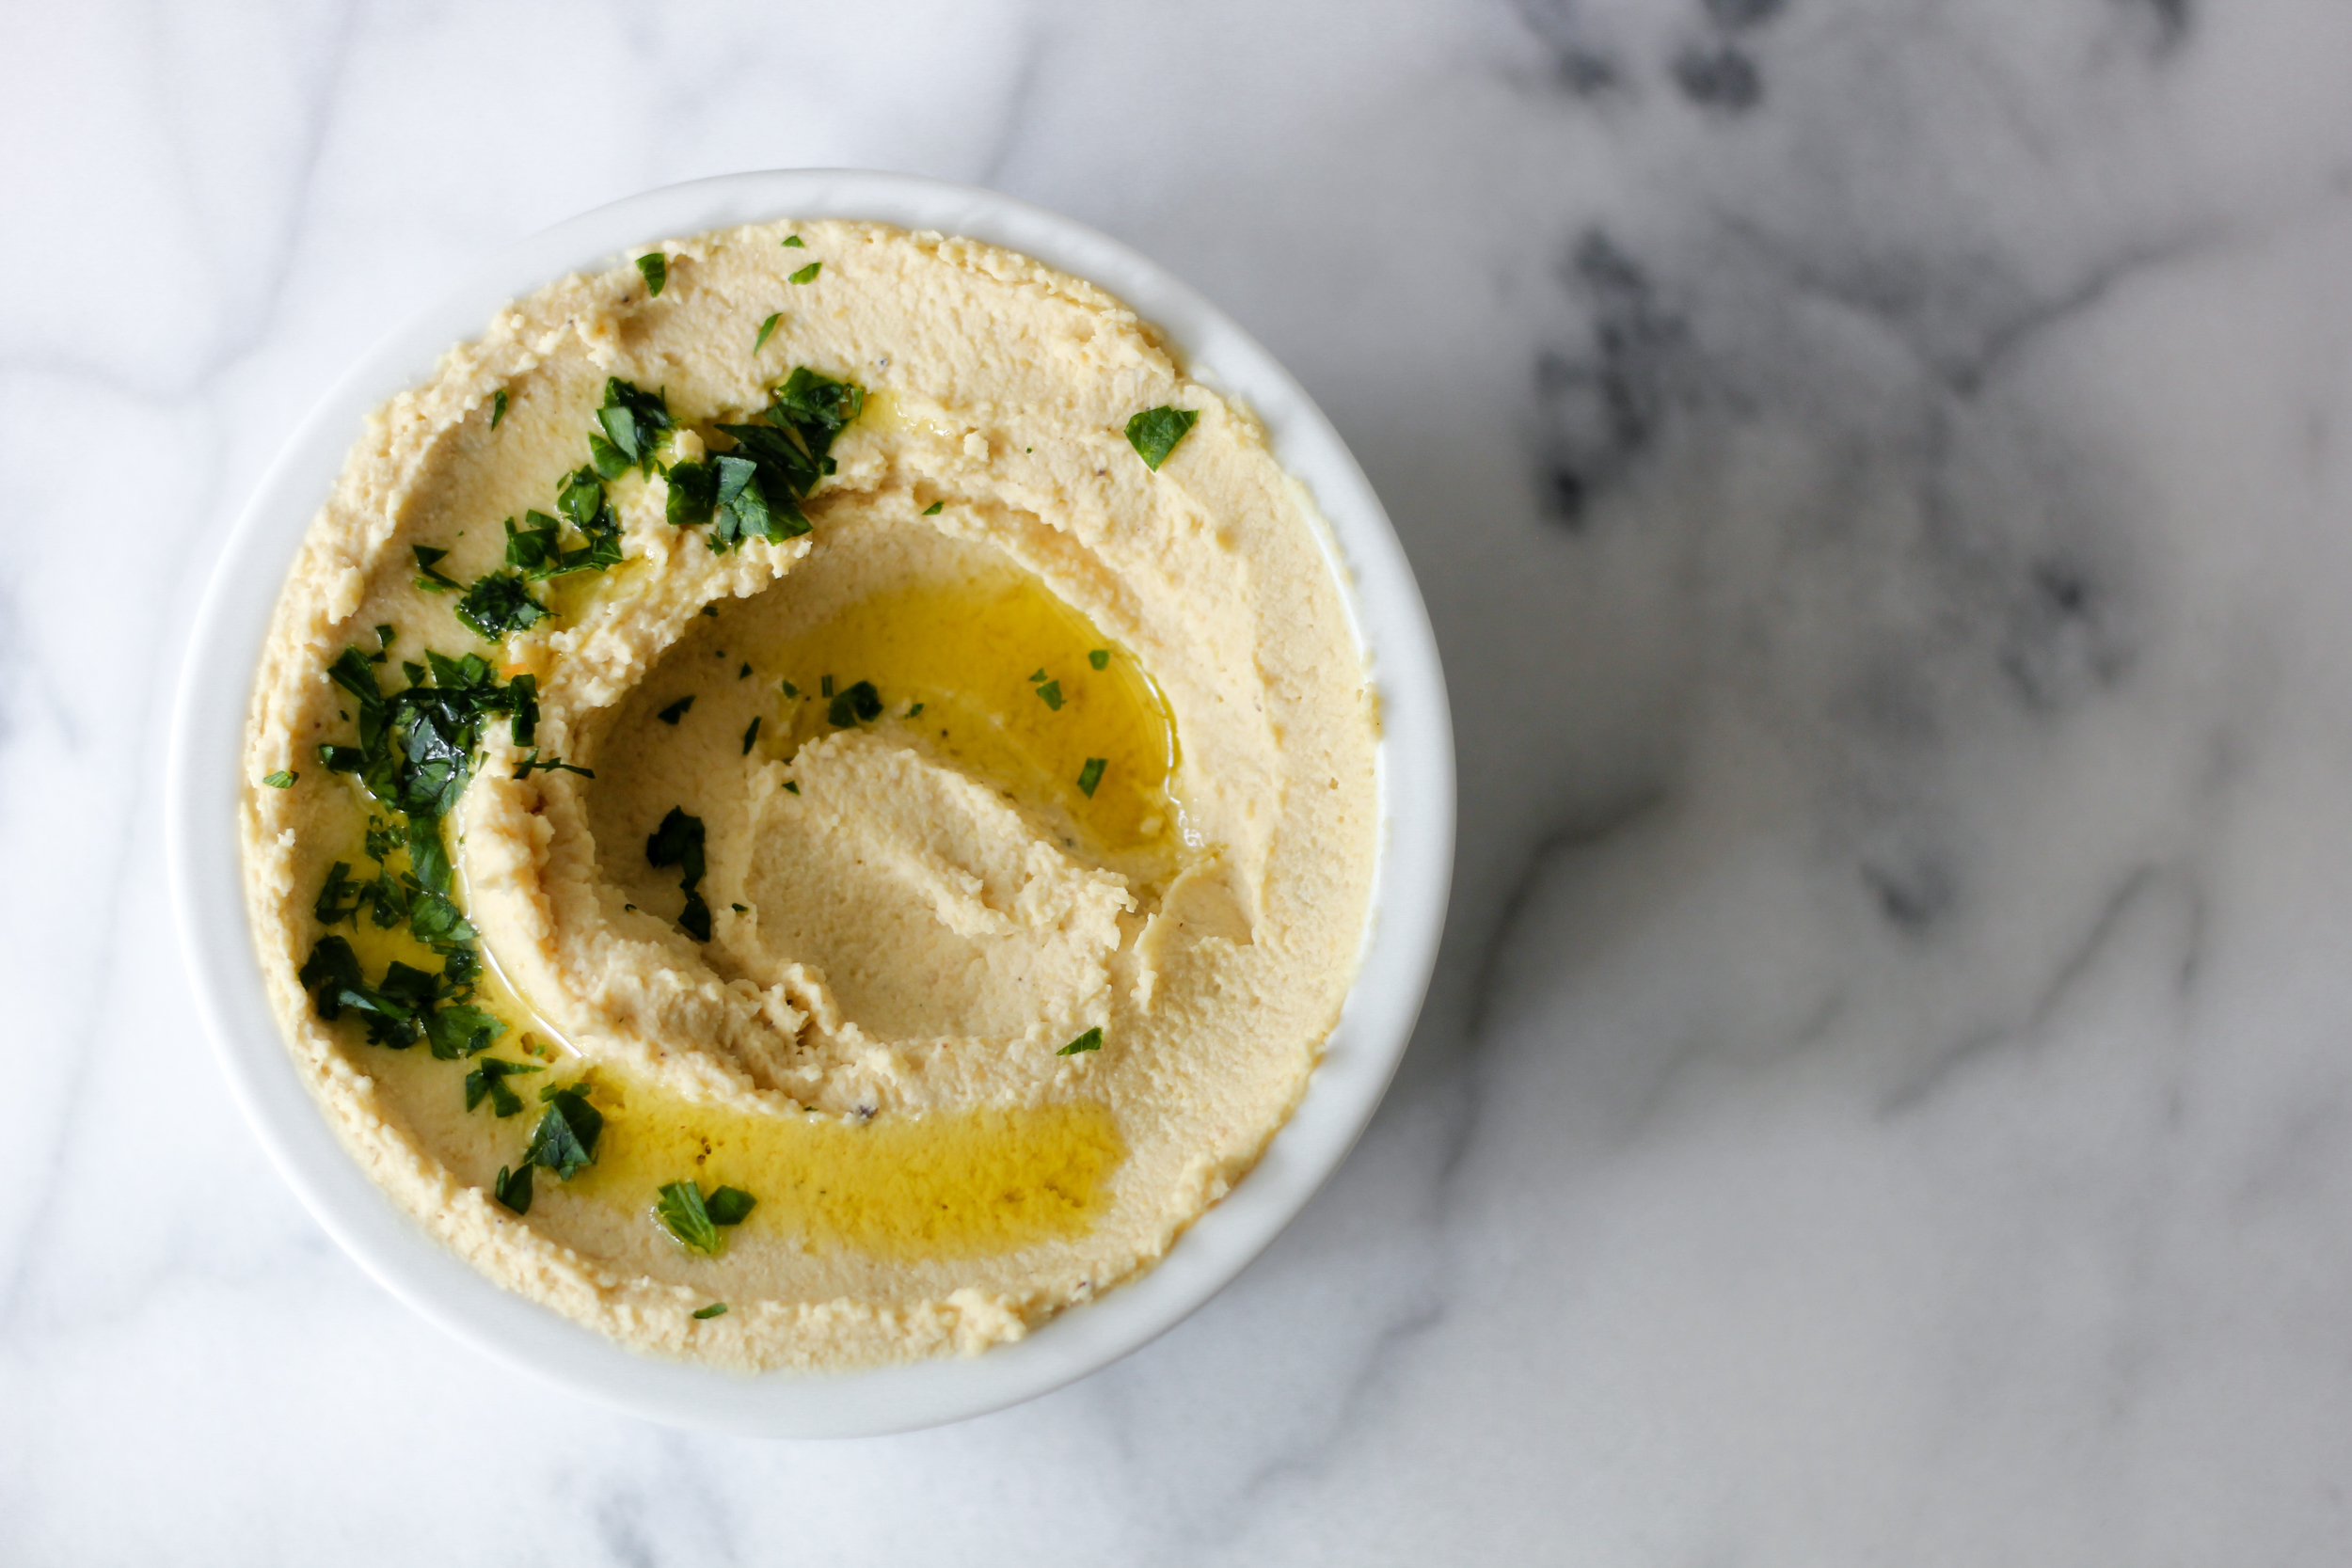
- Scrape the hummus into a serving bowl. Drizzle with a bit of olive oil, sprinkle with chopped parsley and/or paprika, and serve with your desired “dippers.”
Notes
* Although the food processor can certainly do the job of chopping up the garlic, I like to press the garlic clove through a garlic press to finely mince it before adding it to the food processor. This little extra step ensures that I (and, more importantly, my kids) won’t get any surprise chunks of garlic in the hummus.
** Cooking chickpeas from scratch:
Most of the time when I make hummus, I use canned chickpeas to save time. But sometimes, when I’m feeling ambitious on a Sunday afternoon (and I’m organized enough to have remembered to soak the dried chickpeas the night before, or at least early that morning), I’ll cook up a big batch of dried chickpeas, making hummus out of half the batch and using up the rest during the week: in salads, in soups, or as a snack. There are several ways to cook dried chickpeas, also known as garbanzo beans; this is the basic stovetop method I use to cook 1 pound of dried chickpeas, which yields about 6 cups of cooked chickpeas:
To soak: Rinse 1 pound (about 2¼ cups) of dried chickpeas in a colander under cold running water, keeping an eye out for any stones or debris (pick them out and discard). Transfer the rinsed chickpeas to a large bowl or pot, and add enough cold water (about 6 to 8 cups) to cover the chickpeas by a few inches. Cover and let stand overnight, or at least 6 to 8 hours. Drain and rinse the soaked chickpeas in a colander, discarding the soaking water.
To cook: In a large pot, combine the soaked and drained chickpeas with about 6 cups of fresh water, or enough water to cover the chickpeas by a few inches. Bring to a boil over medium heat, skimming off any foam from the surface, then turn down the heat to a gentle simmer. Cook, partially covered with the lid tilted, stirring occasionally, until the chickpeas reach the desired tenderness, about 45 to 90 minutes. (Total cooking time will vary depending on how fresh the beans are and how long they were soaked before cooking.) For making hummus, I like to cook the chickpeas until they are tender all the way through to the center and just soft enough to break up easily when pinched between my thumb and forefinger. Start checking them and tasting a few around the 45-minute mark, then about every 5 minutes or so until they are done to your liking. (If the water level gets too low but the chickpeas still have some cooking to do, add more water to keep them submerged.) Drain the cooked chickpeas in a colander and set aside until cool enough to use.
(For this hummus recipe, I use only 3 cups of cooked chickpeas, so you can cook up about half of a 1-pound package [8 ounces, or about a heaping cup of dried chickpeas] and have enough for the hummus.)
Hummus recipe adapted from Young and Hungry: More Than 100 Recipes for Cooking Fresh and Affordable Food for Everyone by Dave Lieberman.
Recipe by Wholesome Family Kitchen at https://www.wholesomefamilykitchen.com/recipe-wholesome-family-hummus-without-tahini/